
Getting started with the Particle Insight particle shape analyzer
Startup and New Run
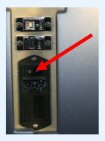
1 – Turn unit on.
![]()
2 – Check that the drain jar is empty and the fill jar contains a sample.
![]()
3 – Start software by double-clicking the desktop icon.

4 – Rinse the system.
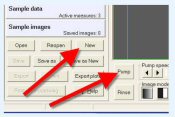
5 – Turn on pump and click ‘New’.
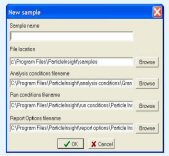
6 – Enter name of new sample and click OK.
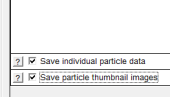
7 – In Run Conditions/Run Control, check ‘Save individual particle data’ is on, if Post-Processing will be used after the run.
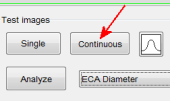
8 – Start ‘Continuous’ to check particle density in the image is not too light or too dense.
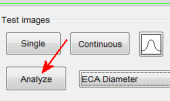
9 – Stop Continuous and click Analyze, for a visual check that the analysis looks appropriate.
10 – Open System Performance Data (optional).
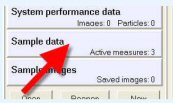
11 – Open data windows by clicking ‘Sample Data’ (optional).
![]()
12 – Press Clear and Start buttons to start the run.
View Thumbnail Images
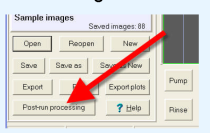
1 – After the run finishes, press “Post-processing”.
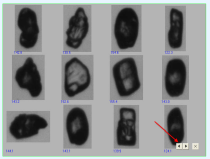
4 – Use the arrows to navigate through the pages.

2 – Enter any desired filtering criteria. If none desired, unselect all measure options.
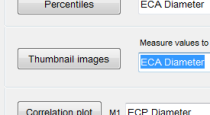
5 – To change which measure values are displayed, close the image that’s showing, change the measure in the drop-down box, and redisplay.
3 – Click Thumbnail images to open the view.
Viewing Histogram Data
1 – Open a run, if one isn’t already open. Press “Sample Data” to open all available measure histograms.

2 – In any of the graph windows, click Plot Options / Large Display, to switch to the large view.
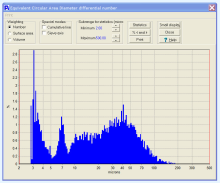
3 – Several features are available here, including statistics for the entire histogram or any selected portion. Number, surface area or volume weighting can be selected.